A clean fiber cement exterior starts long before the last panel goes up. Layout, flashing, substrate preparation, trim alignment, and panel tolerances all play a role in creating those crisp, consistent lines that make a finished façade look intentional.
EasyTrim® Reveals simplifies that process with an exterior aluminum trim system designed to work with fiber cement panels and other popular cladding materials. Its two-piece profiles use a back plate and snap-on top cap, giving installers an open area to position panels before the finished cap is installed over the panel edges.
If you’re learning how to install EasyTrim Reveals with fiber cement, this guide walks through the basic process, from preparing the wall to installing the back plates, setting the panels, snapping the caps into position, and finishing corners, windows, and doors.
Before you begin: Always follow current EasyT
rim® installation instructions, the fiber cement manufacturer’s installation requirements, approved project drawings, and applicable local building codes. Project-specific conditions may require different flashing, fastening, clearances, or detailing.
What You Need Before Day 1
A smooth installation starts with preparation. Before the first piece of trim is cut, confirm your materials, tools, wall assembly, and layout.
Materials
Depending on the project design, you may need:
• EasyTrim® Reveals back plates and corresponding top caps
• Outside and inside corner profiles
• Horizontal starter and reveal profiles
• Window and door jamb profiles
• Window sill and head profiles
• Fiber cement panels
• Approved fasteners
• Air and water barrier materials
• Required flashing materials
• Exterior-grade silicone where specified by the EasyTrim® installation guide
EasyTrim® offers multiple profiles for different panel thicknesses and design conditions, including vertical reveals, horizontal transitions, outside corners, J trims, window profiles, and material transitions. Selecting the correct profile before installation is important because profile choice affects both appearance and the installation sequence.
Tools
Engage’s installation guide recommends tools including a mitre saw with a non-ferrous metal cutting blade, a track saw with a fiber cement blade, impact driver or drill, siding nailer, tape measure, levels, chalk line, framing square, rubber mallet or dead-blow hammer, and the EasyTrim® HammerBlock®. Appropriate PPE should also be used when cutting and installing both aluminum and fiber cement.
Check the Substrate
Before installing EasyTrim®, identify what the system will be fastening into. The installation guide addresses direct-to-wood substrates as well as wood, metal, and plastic furring systems. When two-piece assemblies are installed over furring strips, a continuous furring strip is required behind the trim so the two-piece profile can engage correctly.
The air and water barrier and primary flashing should already be installed in accordance with the project specifications and local building requirements before the trim system begins going onto the wall.
And don’t skip the layout.
Confirm the approved panel grid and establish clear horizontal and vertical reference lines. A small alignment error at the bottom of the elevation can become a much more noticeable problem several courses later.
Step 1: Installing the Receiver Track
The first part of a two-piece EasyTrim® profile is technically referred to as the back plate. Think of it as the receiver. It establishes the panel joint, fastens to the wall assembly, and contains the engagement that ultimately receives the finished top cap.
Start by transferring the approved panel layout onto the wall using your chalk lines or laser.
For a typical panel installation, outside corner back plates are established first at the cladding start point. Starter and horizontal trims can then be coordinated with those vertical profiles. Mid-field vertical back plates are installed according to the planned panel grid. The key word here is alignment.
Every back plate should be:
• Plumb on vertical joints
• Level on horizontal joints
• Positioned according to the approved panel module
• Properly supported by the substrate or furring
• Fastened without creating distortion or tension in the profile
EasyTrim’s current installation guide calls for trim fasteners at 16 inches on centre and no farther than 2 inches from the ends. On profiles with two fastening flanges, the fastening pattern should alternate between flanges to help prevent pillowing or buckling. Fastening into studs is recommended where possible.
Fastener heads should also remain low enough that the fiber cement panel doesn’t sit under tension when installed. One particularly important rule: do not fasten the fiber cement panel through the EasyTrim® nailing flange. The trim and panel need to function as intended without one assembly being incorrectly pinned through the other.
Once the back plates are installed, check the entire grid again before moving to panels. Fixing a slightly out-of-plumb receiver now is much easier than trying to correct the finished reveal later.
Step 2: Setting the Fiber Cement Panel
This is one of the major advantages of the EasyTrim® two-piece system.
Because the top cap hasn’t been installed yet, installers have an open, tab-free area for positioning the fiber cement. Instead of trying to force a finished panel edge underneath a closed trim condition, the panel can be placed against the wall first and covered by the cap afterward. Engage specifically identifies this two-piece approach as a way to speed installation and protect fiber cement cut edges.
For the panel width, EasyTrim’s general panel installation procedure calls for measuring horizontally between the trims and cutting the panel 1/8 inch smaller than that measurement. Vertical dimensions depend on the horizontal profile and the panel manufacturer’s required clearances.
Always check the fiber cement manufacturer’s instructions before finalizing those cuts. Different panel manufacturers may specify a particular gap between the bottom of the panel and the horizontal trim ledge. EasyTrim’s installation guide specifically directs installers back to the panel manufacturer’s requirements for this condition.
Once positioned correctly, fasten the fiber cement panel according to the fiber cement manufacturer’s fastening specifications, not simply according to the EasyTrim® fastening pattern.
The trim manages the joint. The siding manufacturer’s instructions still govern the panel itself.
Step 3: Snapping the Cap Piece Into Position
With the fiber cement panel secured, it’s time to close the two-piece assembly.
For EasyTrim® two-piece profiles, the top cap fits into the engagement channel built into the back plate. The result is a finished trim face that covers the panel edges and conceals the fastening area beneath.
EasyTrim’s general panel installation instructions call for applying a small dot of exterior silicone in the engagement channel at 24-inch intervals on two-piece trims. The cap is then aligned with the back plate and engaged using the EasyTrim® HammerBlock®, working along the trim in roughly 8- to 10-inch increments from one end to the other.
Don’t simply hammer directly on the exposed aluminum face.
Using the recommended installation block helps distribute the force and reduces the chance of damaging the finished surface while ensuring the cap fully engages.
For vertical caps terminating at horizontal EasyTrim® profiles, the bottom of the cap may also need an 8-degree bevel to match the slope of the horizontal profile. Once locked together, the two components visually become one finished trim line.
Corner Detail: How the Two-Piece System Handles Outside Corners
Outside corners tend to expose inconsistencies quickly. A slightly uneven cut, imperfect framing, or misaligned panel can become obvious when two elevations meet.
Two-piece EasyTrim® corner profiles help simplify this condition.
With a two-piece outside corner, the back plate is installed first and used to establish the corner before the adjacent fiber cement panels are completed. The panels can then be installed from either side, with the finished corner cap installed later in the process. In fact, EasyTrim’s installation guide notes that two-piece corner top caps are typically among the last trims installed.
That sequence gives installers access to the panel edges while the façade is being assembled.
Once both sides are complete, the corner cap locks into the receiver and overlaps the panel edges. Engage’s Fit & Finish™ approach is designed to create smooth exterior transitions while eliminating exposed sharp edges at corners and other high-traffic locations.
The result is a defined architectural corner without relying on a large exposed bead of sealant to create the final visual line.
Window and Door Transitions
Windows and doors introduce several conditions at once: vertical jambs, horizontal heads, sills, flashing, drainage, and panel terminations.
EasyTrim® offers dedicated profiles for these details rather than treating every opening as a field-fabricated condition.
For example, the EZ.8 Vertical J profile is designed to finish the vertical ends of windows and doors and can also be used where EasyTrim® terminates against another exterior building material.
For a typical panel window installation, EasyTrim’s guide sequences the sill trim, jamb back plates, adjacent panel and vertical profiles, and continuous horizontal head trim so they work together with the window flashing. The guide also specifies sealant within designated channels on applicable jamb assemblies rather than simply caulking every visible trim-to-panel joint.
That distinction matters.
The goal isn’t to cover every transition with caulking. It’s to detail the opening so the trim, flashing, air and water barrier, and cladding each perform their intended job.
Doors follow much of the same logic, minus the sill condition where appropriate. Always coordinate the trim sequence with the project’s approved window or door flashing detail.
Common First-Timer Questions
Do I install the cap before the fiber cement?
No. On EasyTrim® two-piece profiles, install and fasten the back plate first, position and secure the fiber cement, and then engage the top cap. That’s what creates the open installation area that makes the system easier to work with.
How tightly should I cut the panel between two trims?
EasyTrim’s general panel instructions call for measuring horizontally between trims and cutting the panel 1/8 inch shorter. You should still confirm all required panel clearances with the fiber cement manufacturer.
Can I fasten through the EasyTrim® flange when securing the panel?
No. EasyTrim specifically warns installers not to fasten fiber cement panels or lap planks through the trim’s nailing flange because it can damage the panel over time.
Do I need continuous backing behind the trim?
When a two-piece EasyTrim® assembly is installed over furring, Engage specifies continuous furring behind the assembly to achieve proper engagement.
Do all joints need exterior caulking?
Not necessarily. EasyTrim® incorporates profiles intended to create caulk-free exterior connections in certain conditions, and some profiles include dedicated water-management and sealing features. Always follow the EasyTrim® detail for the specific profile and the project’s flashing requirements rather than assuming every visible joint should be caulked.
Can EasyTrim® be cut on site?
Yes. EasyTrim recommends using a mitre saw equipped with a non-ferrous metal cutting blade for cutting its aluminum profiles.
What if my wall isn’t perfectly straight?
Don’t use the trim to hide a substrate problem. Check framing, sheathing, furring, and the wall plane before installation. Two-piece profiles can make panel placement more forgiving, but a straight substrate and accurate layout are still essential to a clean finished façade.
What the Finished Joint Looks Like and Why It Works
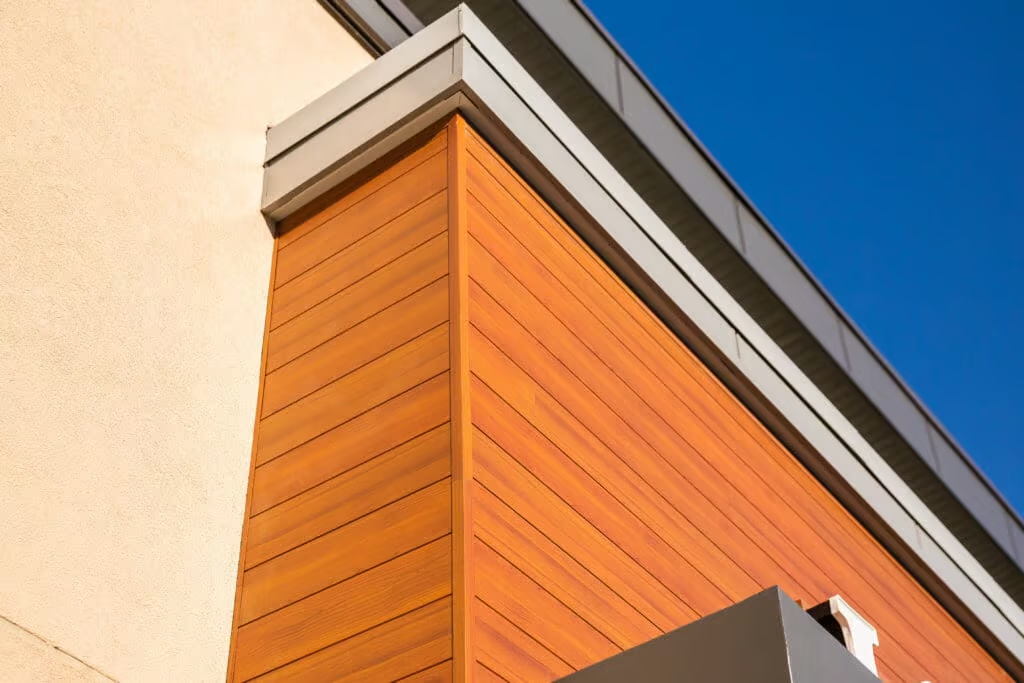
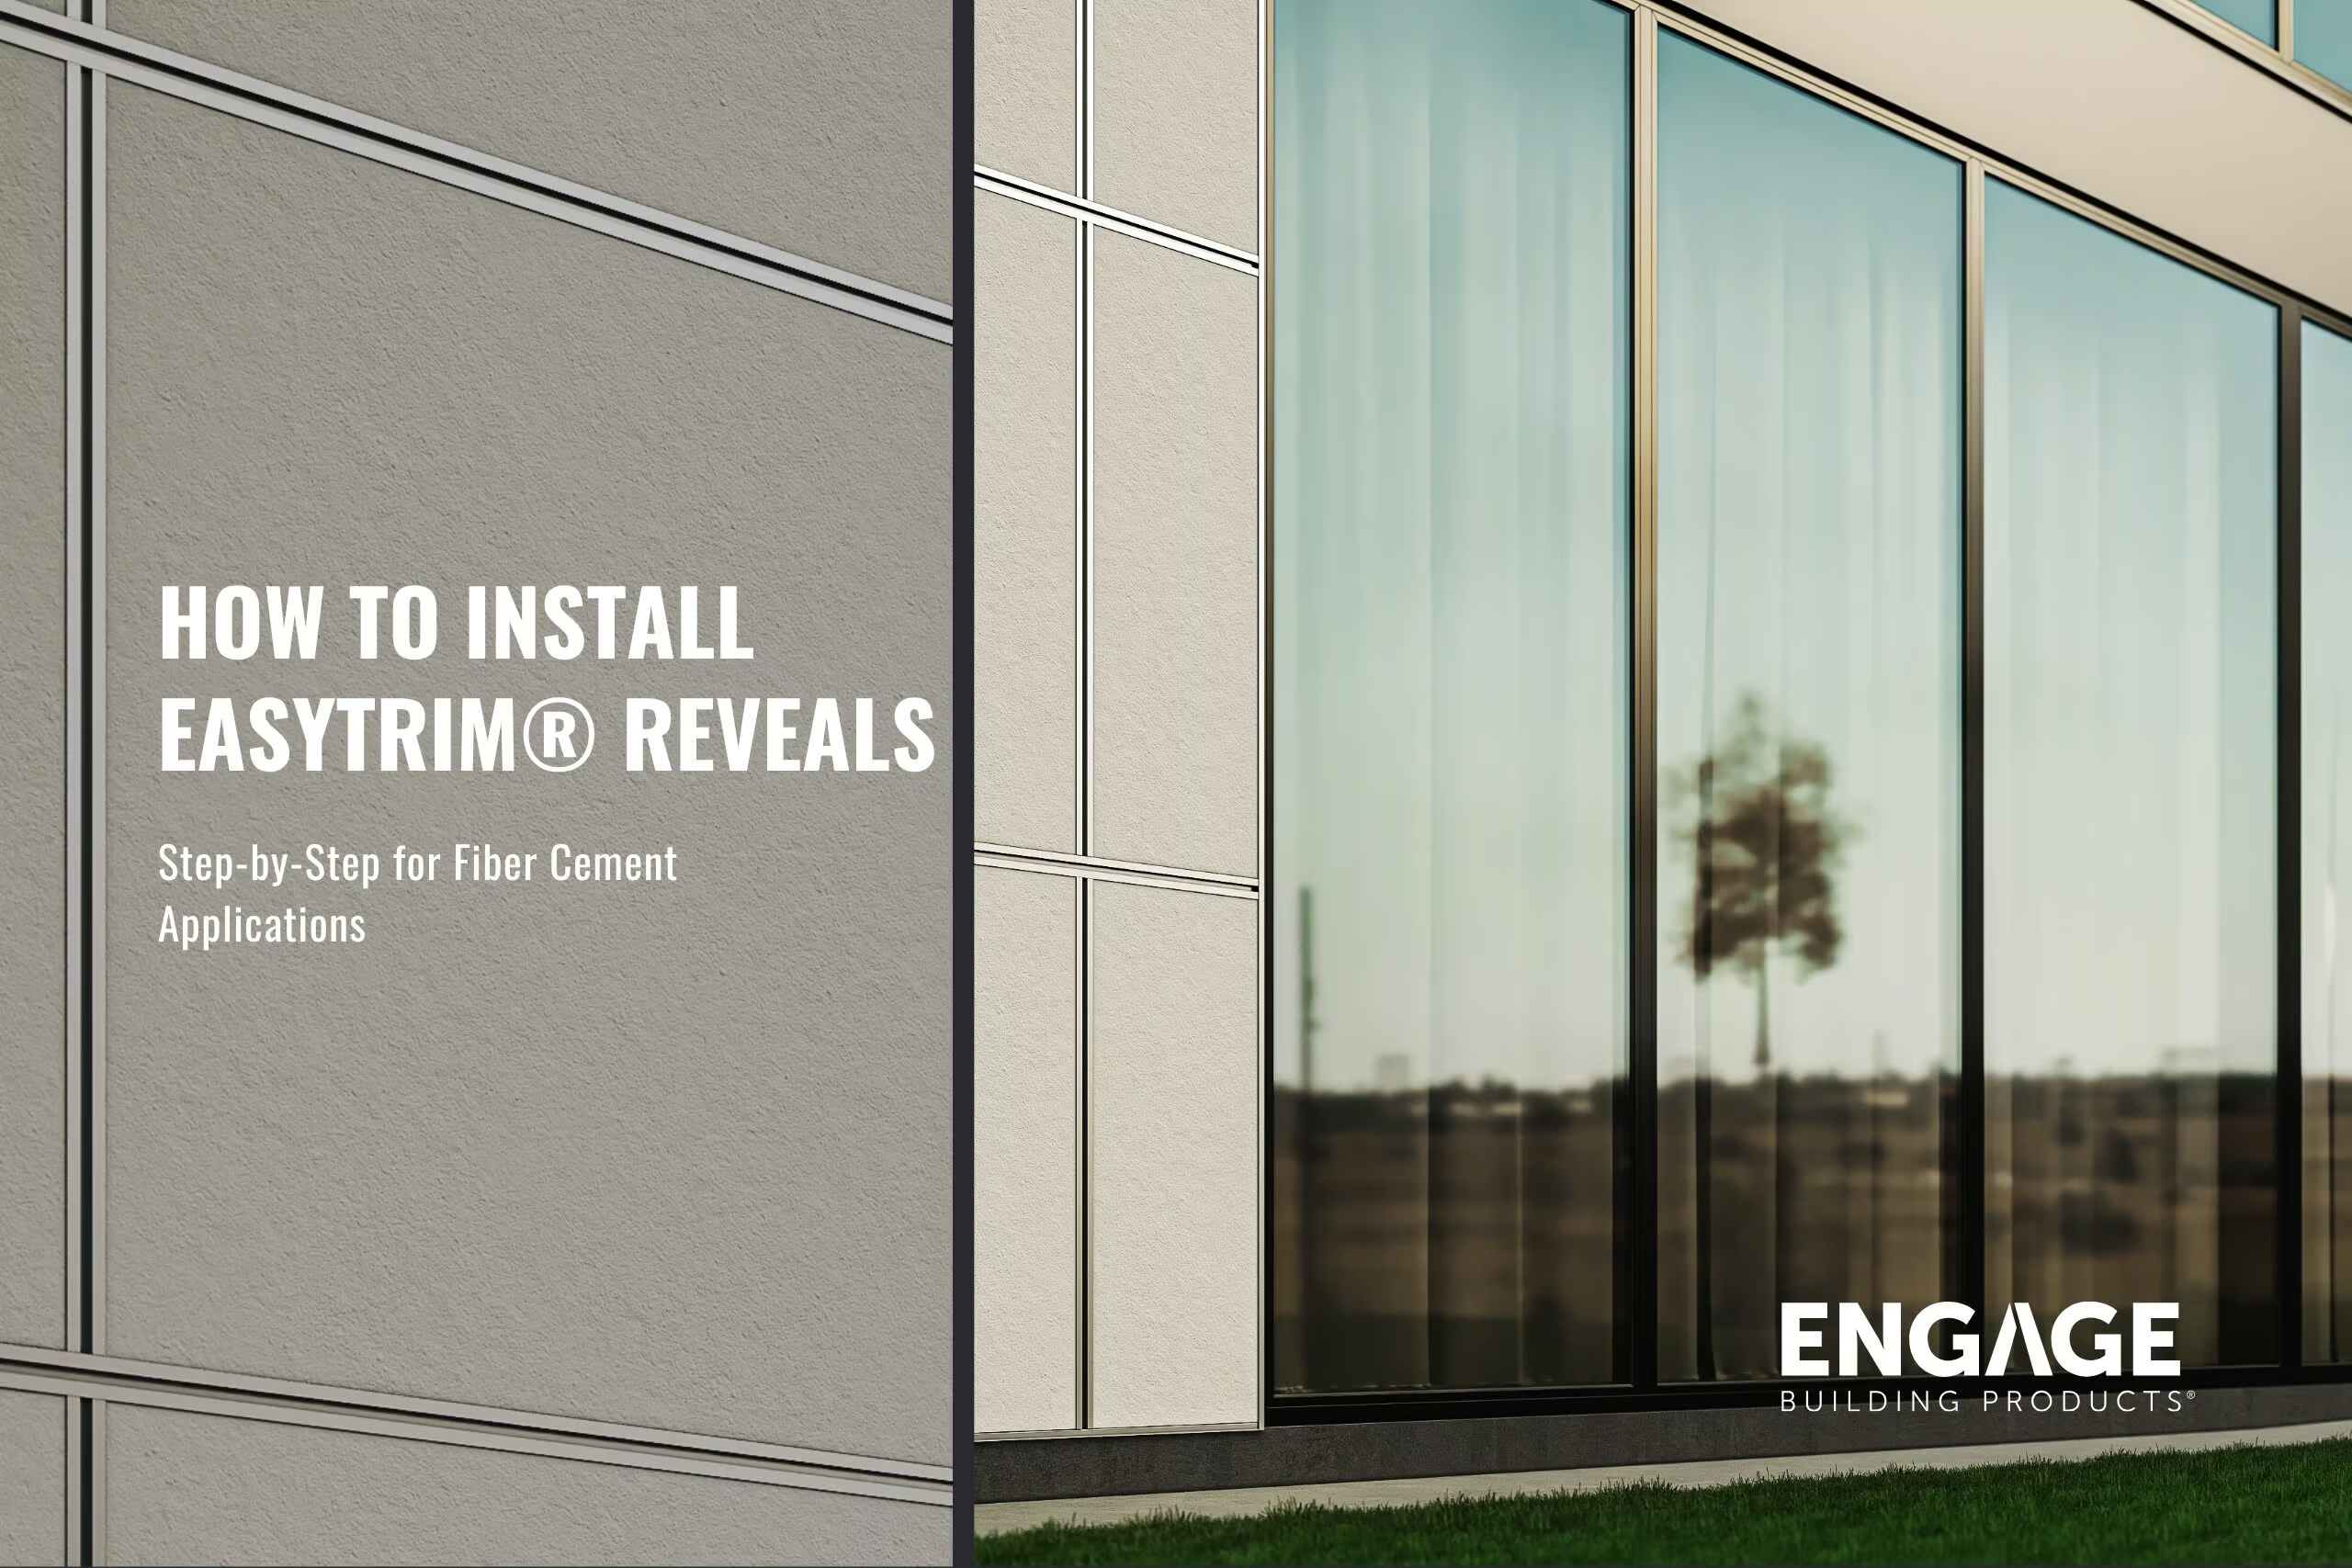
A properly installed EasyTrim® Reveals joint has a simple appearance: straight aluminum lines, consistent reveals, protected panel edges, and no visible fasteners competing with the cladding.
There’s considerably more happening behind that clean finish.
The back plate establishes the joint and secures the trim to the wall. The fiber cement is positioned and fastened independently. The top cap then locks into the back plate and covers the panel edges. Horizontal profiles incorporate EasyTrim’s EZ.Slope® design, which uses an 8-degree slope to encourage water, dirt, and debris to move down and away from the building.
That combination is what makes the two-piece system useful on modern fiber cement façades: installation access first, finished detailing second.
Instead of asking crews to make every field-cut panel edge the finished architectural feature, EasyTrim® creates a controlled aluminum transition around it. The result is a façade with consistent reveals, defined corners, cleaner window and door transitions, and a repeatable installation process across the building.
For contractors learning how to install EasyTrim Reveals fiber cement applications, the biggest takeaway is simple: don’t think of the trim as the final step.
Build it into the layout from the beginning.
Establish the wall assembly and flashing. Lay out the grid. Install the back plates. Set and fasten the fiber cement. Then lock the caps into place.
When every component is installed in the right sequence, the system does exactly what good exterior detailing should do: make a complicated assembly look simple.